Showing posts with label Shellac. Show all posts

August 28, 2009

Todays Progress on The Little Vintage Travel Trailer

The Wood is in above the Kitchen Counter
The Refrigerator - Open
The Refrigerator Door is Painted and Installed - This is Red PRIMER.  I planned on priming and painting it, but seeing this color, I fell hard for it.  I will take it apart one more time and clear coat the red in a Matte finish.  I like that it does not have a sheen to it.  It goes really well with the other interior colors.
Before - the vent at ceiling
After - Trimmed out
The Charles M. Russell Western Print "The Jerk Line" is trimmed out
The New Table Hanging hardware arrived from Vintage Trailer Supply 
The table is installed!
The brushed Stainless is propped up and waiting to be installed in the kitchen
Another View.  This is going to be tricky - Whoever put this in the first time cut it short - I am going to have to come up with some creative trim work....oh well - cleaning it was at least half of the battle! All in all, a very productive day!

August 10, 2009

The Painted Side Walls in the Vintage Winnebago Travel Trailer

After PAINTING the original side walls three differnt colors, and not liking any of them. The rear end is new wood with three coats of shellac applied so far.
The last color was a yellow. I dripped some shellac while applying it to the end wall, and liked the color it turned the paint. An idea was born....
I decided to SHELLAC over the paint on the side walls. Here is the rear side wall with approx. 6 coats of Amber Shellac applied to it in a "cross hatch" pattern to give it an aged and uneven appearance. It kind of reminds me of old plaster or faux burl.
The rear window wall is shellac on wood - the side wall to the left at the rear is shellac over paint.
Here is an example of the yellow paint up against the yellow at rear that has had shellac applied to it.
Here is that same yellow painted wall and face frame with shellac.
Trim has not been installed yet. It will take another two coats to really have the look I am going for. If you attempt this, be warned....it is a LOT of coats, and a LOT of cross hatching!

May 18, 2009

Vintage Travel Trailer / Cabinet Refinishing

Drawers - Sanded
BEFORE - Cabinets had been stained in a Mahogany finish - not the look I wanted. Hoping to bring them back to more of a vintage Birch look again.

AFTER: Doors and drawers were sanded down and coated 3x with amber shellac.


Drawers and cabinet door (backs) done so far.

September 23, 2008

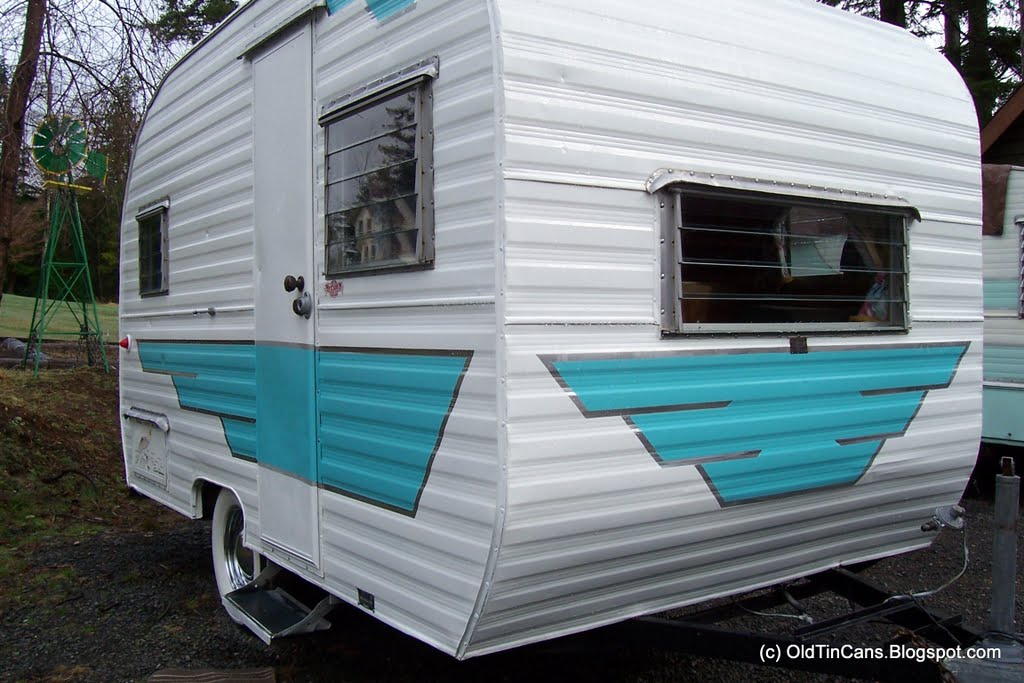
1961 Northwest Coach Vintage Travel Trailer / Canned Ham

Exterior Before:

Exterior After:
New Paint, Coker Whitewall Tires, Baby Moon Hubcaps


                                                                     Interior Photos
                                                 
                                         The original dinette table was too beat up to keep.
                                                    New Laminate installed on table.


                       Table installed, with the original turquoise vinyl dinette seats & new tropical print curtains.

                                                 Woodwork - Original Icebox was Painted
Interior
                                                                Before: Old Counter
                       After: New Laminate Kitchen Counter in same laminate as the dinette table.
                                 Scalloped "gingerbread" woodwork installed at edge beneath counter top.
New Formica Installed on Original Dinette Table


                                                       The floor tiles are original to the trailer.


                                  New Paint on Exterior, Coker Whitewalls and Baby Moons.