


October 11, 2015
March 1, 2011
How to Make a "Vintage" Travel Trailer Awning

Doubled over, and then folded in half - here are the cuts:
The strips closest to you is for the cording - (there are 2pcs total).
The next 3 strips are for the front and side drop downs - (there are 6pcs total).
The large piece is the body - (there are 2pcs total).

The two body pieces were sewn together at center after matching up the stripes using a flat fell seam.
The seam was then top stitched.
NOTE: It is important to use outdoor thread becuase it is UV resistant and will not rot in an outdoor environment like regular thread. Outdoor thread is made of polyester, and it is thicker and tougher than regular thread. It will cost a bit more, but it is well worth it.
TIPS: I used a longer stitch length, at 6 stitches per inch, and made sure the needle I used was for heavy fabrics. Increasing the top tension on your sewing machine is recommended also. I had no problems what so ever, until my needle started to dull. I replaced the needle two times during this project.
A sharp new needle is the key to happy sewing!

The strip for the awning rope has been zig-zag stitched and hemed.
Nylon rope is ready to be sewn inside the fabric using the zipper foot of sewing machine.
I made this awning for a trailer with the old fashioned "C" channel awning holder. I bought the rope one size down from the size of my channel to allow for the fabric covering, which made the diameter larger. I did do a test piece first, to make sure it would go into the channel easily, yet fit snuggly so as to not pull out when the tension of the tent poles was applied.

Here it is, ready to be sewn to the top of the awning, top stitched to each side for durability.


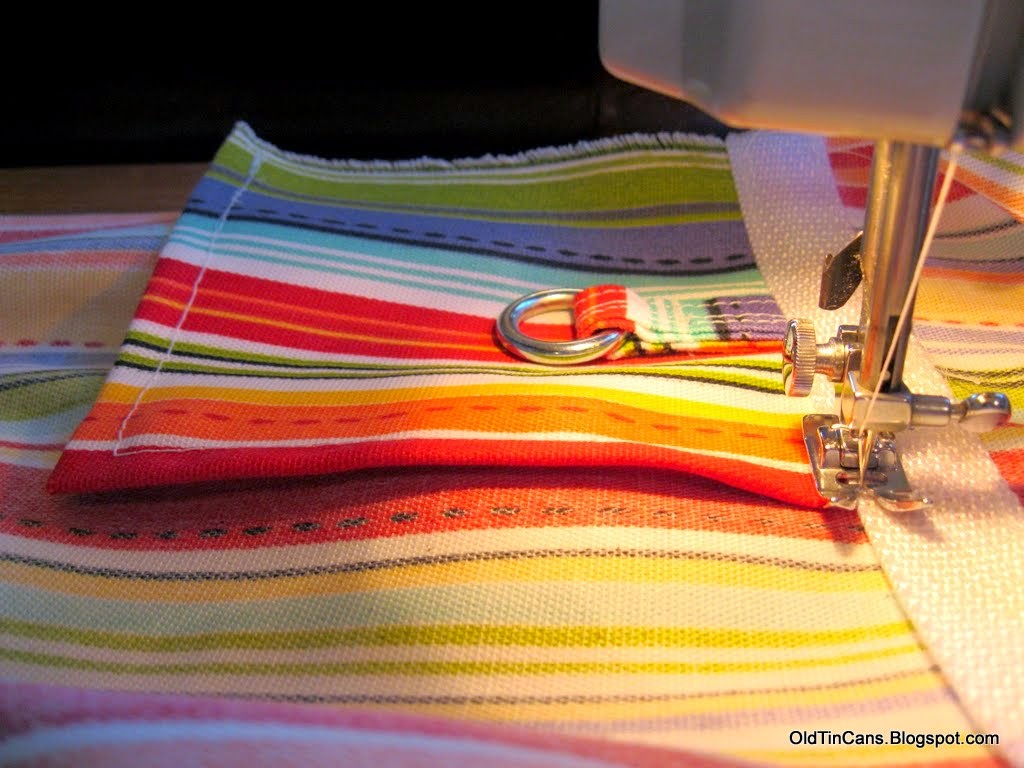
The tent pole corner grommet reinforcement pieces and the tie down loops.

Corner reinforcement piece going in under the olefin straping reinforcement piece.
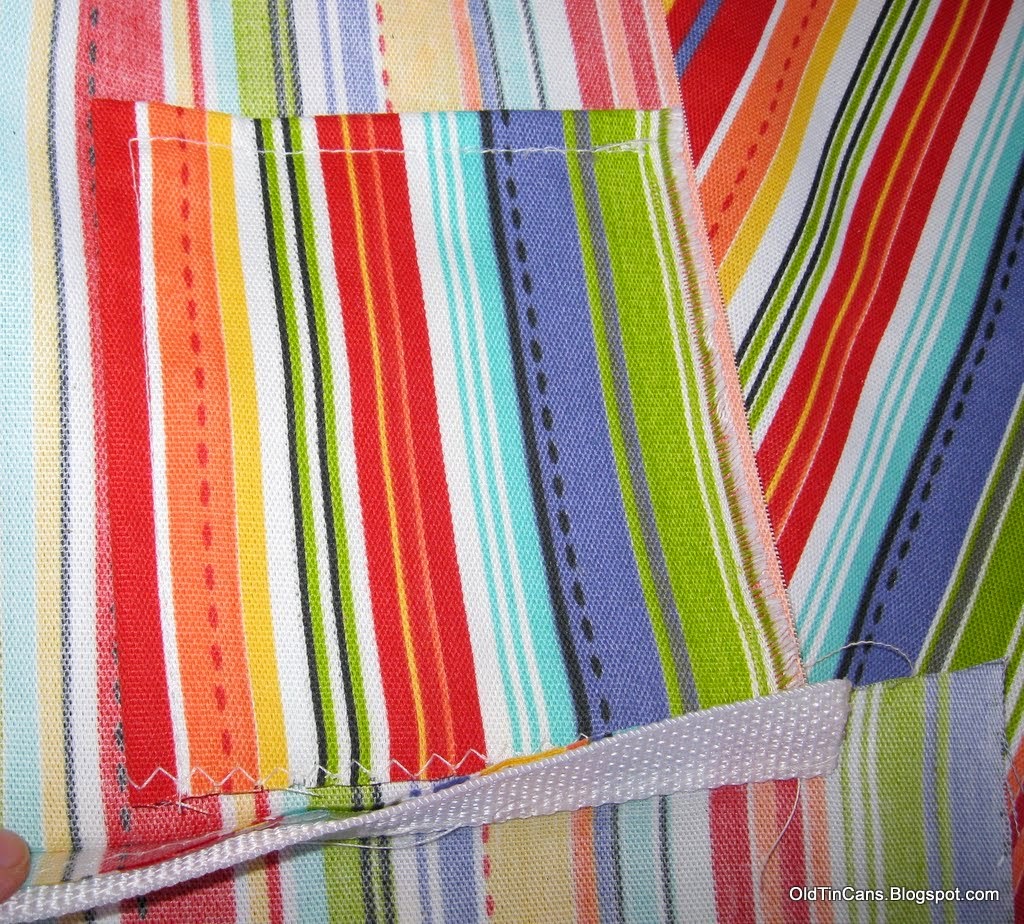

Another view. Only outdoor UV thread is used in an outdoor fabric project like this.
The Olefin straping is double stitched - here is the center reinforced fabric and tent pole tie down loop.
Another view.

The rope is sewn at the top.

The sides and the reinforcing Olefin welting are on.

A template for the drop can be made out of most any sturdy cardboard or plastic!

Hemming the sides - they were zig-zag stitched, and then turned once and stitched.

Top stitching the interior trim piece.
This took two go arounds - once on the yellow stripe, and once on the blue to cover the hem.
When sitting under the awning, this is what will be seen.

The outside, or "right side".
Pom Ball Trim being top stitched.

Close Up of attaching the retro pom-pom fringe trim.

One heck of a lot of fabric to maneuver around the machine!


Close up of the Pom Pom Trim.
I will attach a picture of the awning completely folded out when the weather here improves enough for me to take it outside and show it off.
Here is a picture of a different canopy I made set up with a trailer the year before....

...and the view from underneath of the canopy....

Thanks for looking, and Happy Camping!
Subscribe to:
Posts (Atom)