
Doubled over, and then folded in half - here are the cuts:
The strips closest to you is for the cording - (there are 2pcs total).
The next 3 strips are for the front and side drop downs - (there are 6pcs total).
The large piece is the body - (there are 2pcs total).

The two body pieces were sewn together at center after matching up the stripes using a flat fell seam.
The seam was then top stitched.
NOTE: It is important to use outdoor thread becuase it is UV resistant and will not rot in an outdoor environment like regular thread. Outdoor thread is made of polyester, and it is thicker and tougher than regular thread. It will cost a bit more, but it is well worth it.
TIPS: I used a longer stitch length, at 6 stitches per inch, and made sure the needle I used was for heavy fabrics. Increasing the top tension on your sewing machine is recommended also. I had no problems what so ever, until my needle started to dull. I replaced the needle two times during this project.
A sharp new needle is the key to happy sewing!

The strip for the awning rope has been zig-zag stitched and hemed.
Nylon rope is ready to be sewn inside the fabric using the zipper foot of sewing machine.
I made this awning for a trailer with the old fashioned "C" channel awning holder. I bought the rope one size down from the size of my channel to allow for the fabric covering, which made the diameter larger. I did do a test piece first, to make sure it would go into the channel easily, yet fit snuggly so as to not pull out when the tension of the tent poles was applied.

Here it is, ready to be sewn to the top of the awning, top stitched to each side for durability.


The tent pole corner grommet reinforcement pieces and the tie down loops.

Corner reinforcement piece going in under the olefin straping reinforcement piece.
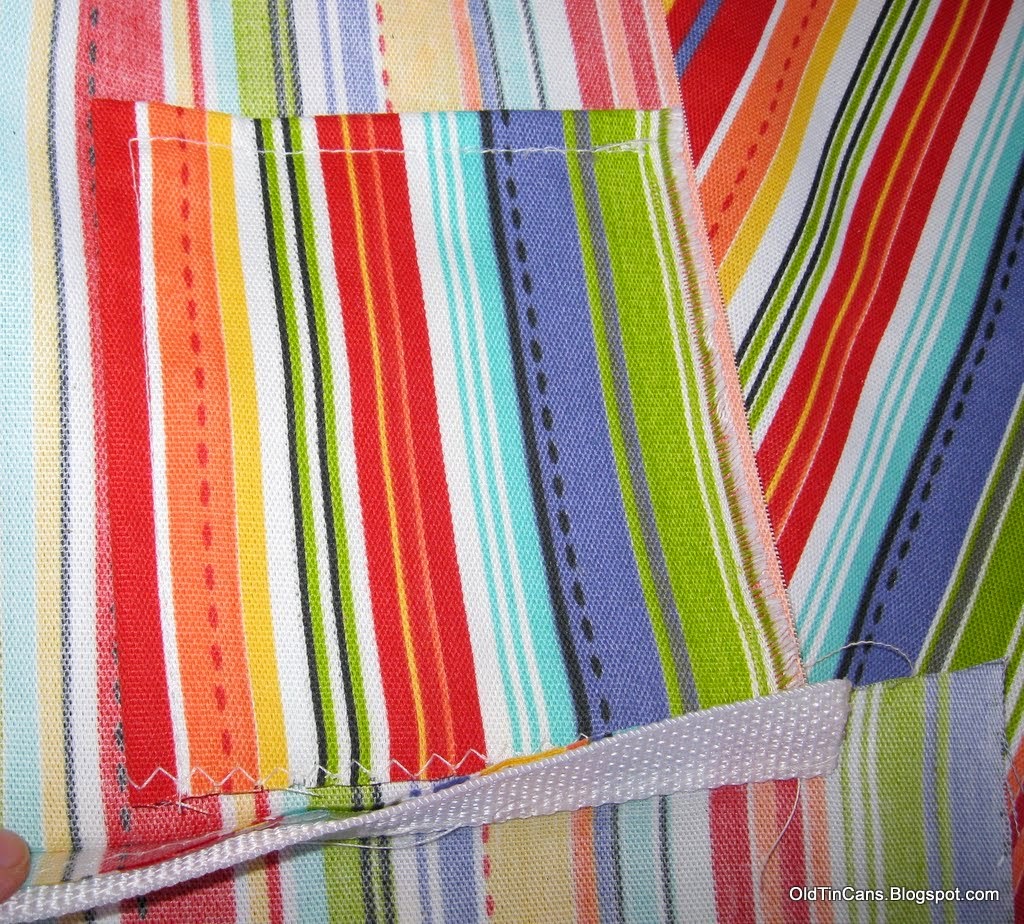

Another view. Only outdoor UV thread is used in an outdoor fabric project like this.
The Olefin straping is double stitched - here is the center reinforced fabric and tent pole tie down loop.
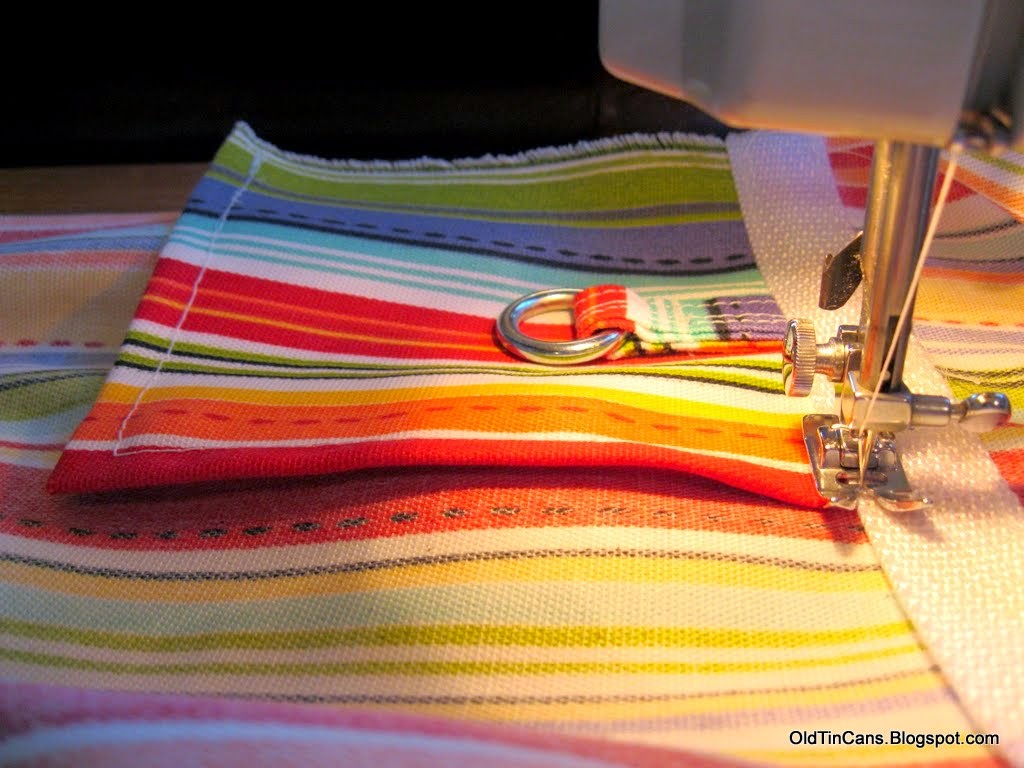
Another view.

The rope is sewn at the top.

The sides and the reinforcing Olefin welting are on.

A template for the drop can be made out of most any sturdy cardboard or plastic!

Hemming the sides - they were zig-zag stitched, and then turned once and stitched.

Top stitching the interior trim piece.
This took two go arounds - once on the yellow stripe, and once on the blue to cover the hem.
When sitting under the awning, this is what will be seen.

The outside, or "right side".
Pom Ball Trim being top stitched.

Close Up of attaching the retro pom-pom fringe trim.

One heck of a lot of fabric to maneuver around the machine!


Close up of the Pom Pom Trim.
I will attach a picture of the awning completely folded out when the weather here improves enough for me to take it outside and show it off.
Here is a picture of a different canopy I made set up with a trailer the year before....

...and the view from underneath of the canopy....

Thanks for looking, and Happy Camping!
11 comments:
Thank you for sharing...GREAT step by step instructions. I have a '65 Aloha that is a long way from be ready for an awning but when it is, I will be using these!
Wow!! Thank you for the easy to follow tutorial on making an awning. We have a hand me down awning for our 64 Kencraft that really needs to be replaced but I like to save money and do things myself. So thank you for the info.
Hi - Re a comment asking if I would consider making a 10 x 10 awning. (Sorry, I posted it, and then realized you had put your email address in the comment, so I deleted it).
I don't make them for money, sorry, but I know there is a woman on Ebay who makes old fashioned awnings to sell. She might consider using your fabric and making one for you at a price.
To find her just put the search words "vintage trailer awning" in on ebay, and she should show up.
If you have basic sewing skills, you can do this! Just make sure you use the UV resistant "outdoor" thread. It costs a lot more, but it is necessary. If you need to look up different sewing terms or don't know how to make a certain type of a seam for instance, Youtube is an awesome reference. (I learned how to crochet flowers watching tutorials on Youtube! lol).
Thanks for the nice words, and good luck to you!
This is great! Makes me feel like I could do it. Thanks for the details like what thread to use.
One thing I have not figured out - how does the awning attach to the trailer?
Hi Josephine - Thanks, and YES, if you can sew at all - you CAN do this!
Most of the vintage travel trailers have a metal "c" type channel that runs above the door from the front to the rear of the trailer. Locate this channel, it is what your rope (cording)slides in to.
Measure the diameter of your channel, and remember that a rope cord covered with fabric gets much larger in diameter than just the rope itself. I always do a test piece of covered rope before committing to be absolutely positive that it goes into the channel easily, yet is very secure once inserted. (Too loose, and it can pull out).
Thanks again for the kind words, and good luck with your project!
I love your site! I am looking for a fixer up myself and your site is perfect. Thank you so much for sharing your processes.
Thanks for sharing. We have a '72 Boler and are trying to research awning/extra room options. Unfortunately the pictures don't show up. Any advice? Thanks much!
Hello! We discovered your post while searching for vintage awnings, but none of the pictures are linked any longer. Any chance they're imbedded on another page? This looks like it's a great tutorial, thanks for posting! (you can email me directly too, if that's easier!) Thx much.
Luke
protts at gmail dot com
I saved your tutorial on making an awning for your travel trailer. However, the pictures are no longer there????? Is it possible to fix this?
Hello Everyone - To those who commented on the photos being gone from my posts - I appologize.
I had a computer issue a couple of years ago and pretty much lost everything. I am just now going through my web photo albums and reinstalling all of the photos that go with my blogs. It looks like it will be a semi-slow process getting everything back up to speed, (although a fun one!).
I just completed reinstalling the photos for this blog on making your own canopy today. I will be trying to redo the blogs at the rate of a couple a week.
Sorry for the inconvenience to those of you who had it bookmarked....and thank you for your patience! ~Rusty
Post a Comment